How do I install new presets and profiles into Lightroom?
If you use the Lightroom mobile free app without a Creative Cloud subscription plan you can use most of the photo editing features as on the payed version. You only need to do a few extra steps to install the presets into your Lightroom for mobile free app.
UPDATE: Downloading our zip-file from Mail via Safari on iPhone
- If you download our zip-file via Safari you can follow the same steps from 1 till 3 without Dropbox or iZip.
- When the download is complete in Safari you can click on the downward arrow in the top right on your screen.
- Next click once on the Crisp & Hazy Lifestyle Presets zip-file to unzip it. You should see a map with the same name appearing in this directory.
- Open the Crisp & Hazy Lifestyle Presets map, open the DNG map, ‘Select All’ as in Step 3.
- When all DNG-files are selected you can click on the file-icon in the bottom navigation bar of your screen to save them ‘On My iPhone’, click on ‘Copy’ in the top right of your screen to copy all the selected files in the ‘On My iPhone’ directory.
- Proceed to Step 4 as shown below.
STEP 1: Download Dropbox and iZip on your phone if you download via a browser other than Safari
- Both apps are freely available for both iOS and Android in the App Store (iOS) and Google Play Store (Android). First, download the Dropbox app and create a free account. Second, download iZip for unzipping your files on your phone.
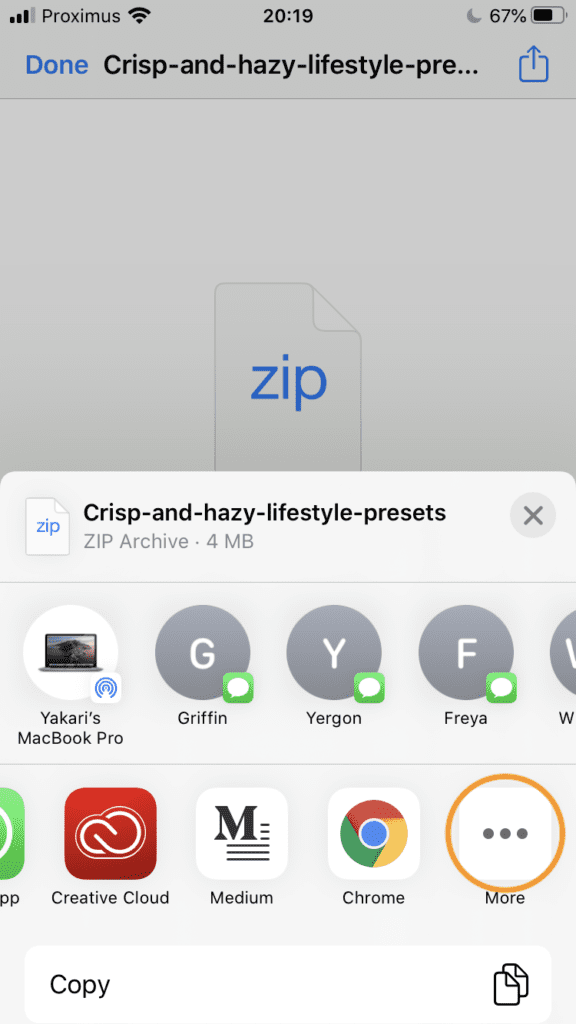
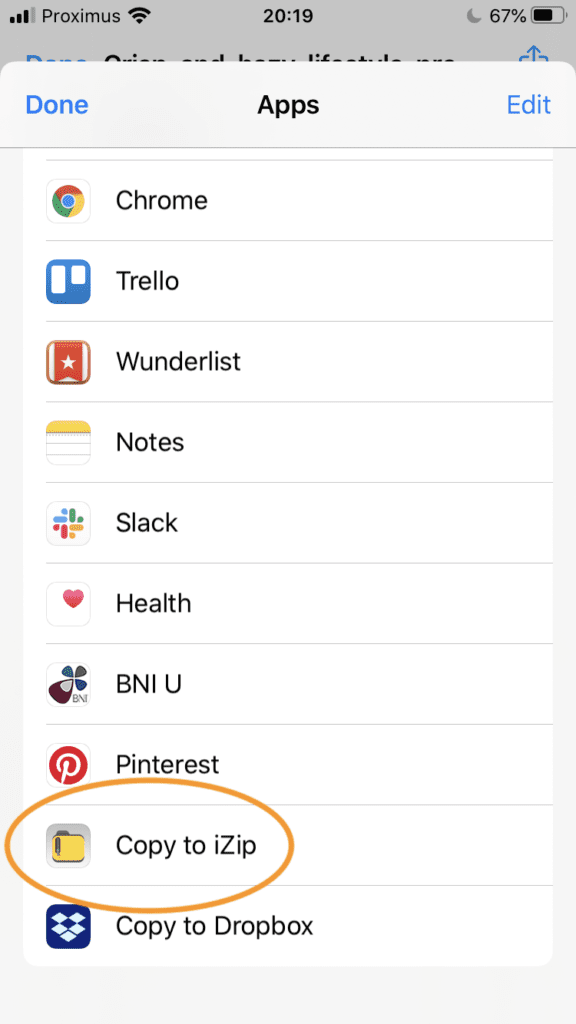
STEP 2: Download the presets on your phone & copy the presets you downloaded to iZip
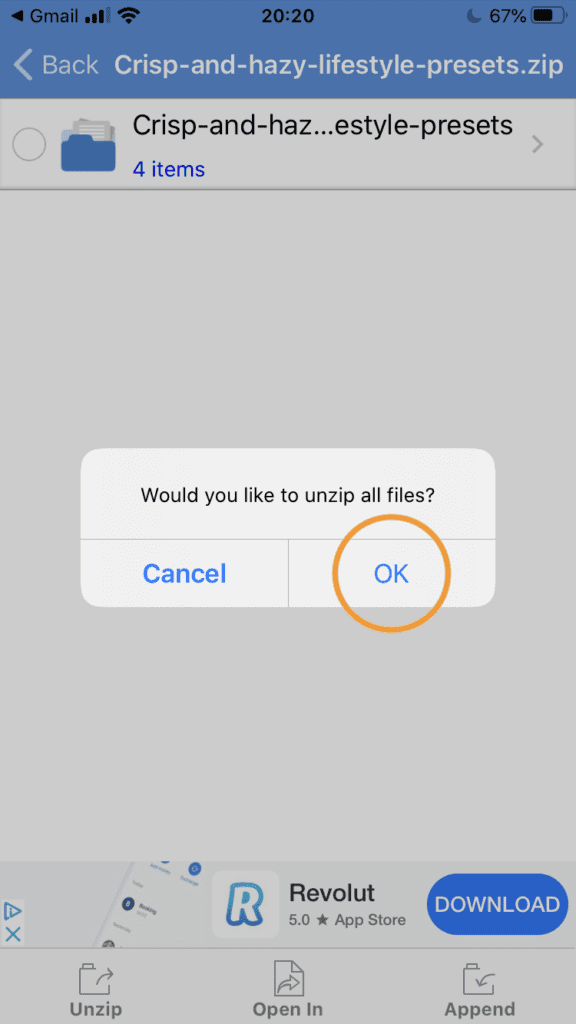
- Select “copy to iZip” to open your files in de iZip app.
- You will be asked to unzip all files, select “OK”.
STEP 3: Save the unzipped presets on your phone
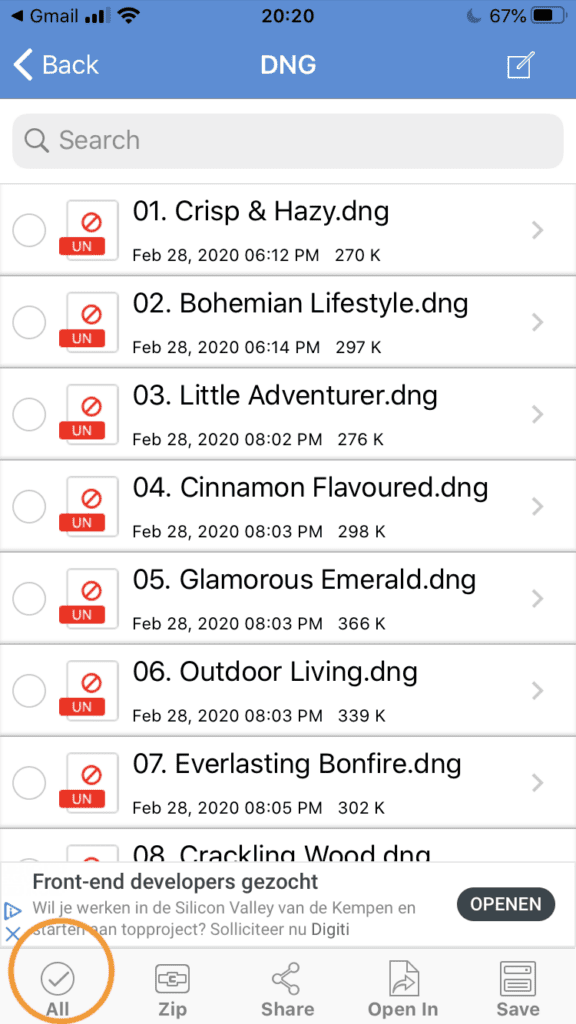
- Go to the preset folder containing DNG files.
- Select all the images by clicking the “All” button.
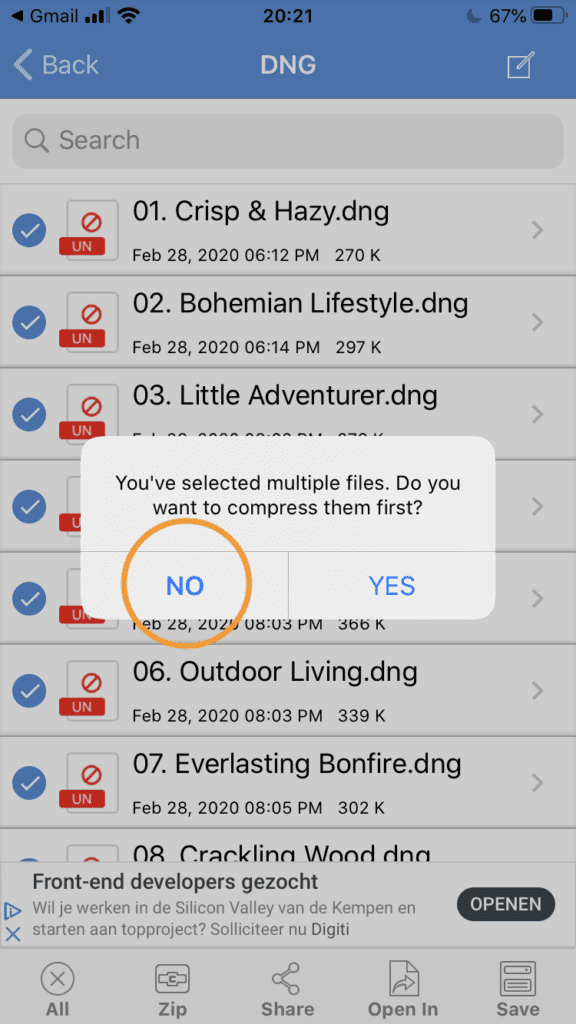
- Select “Share” and then select “No” to keep your photos unzipped.
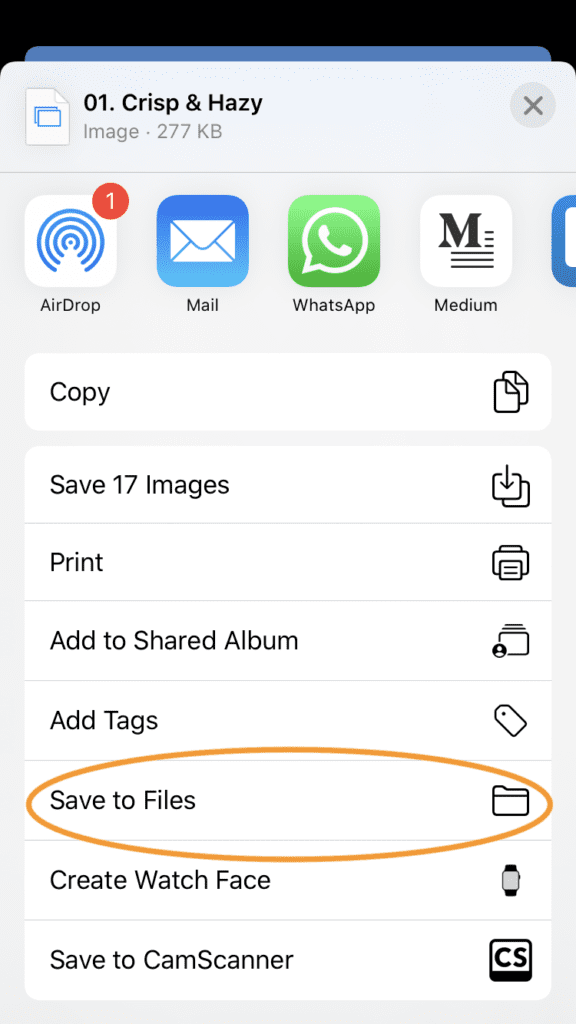
- Save all files on your phone by choosing “Save to Files”.
STEP 4: Open the DNG files in Lightroom
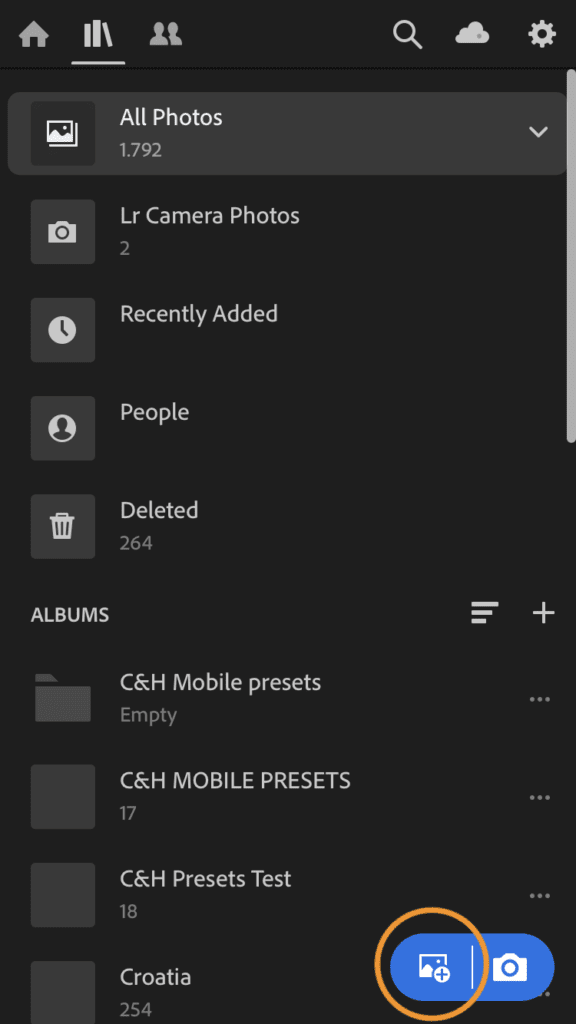
- Open Lightroom for mobile and create a new album. Enter the name of the preset pack you bought, in this case “Crisp & Hazy Lifestyle”.
- Open the new album, select “Add Photos”.
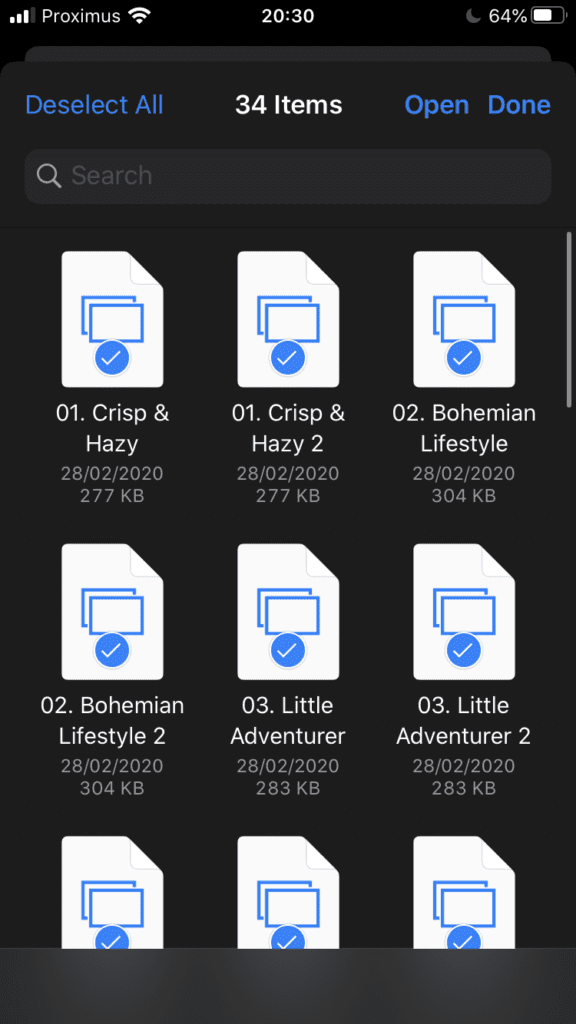
- Then select “From files” and open all the DNG files by clicking “open”.
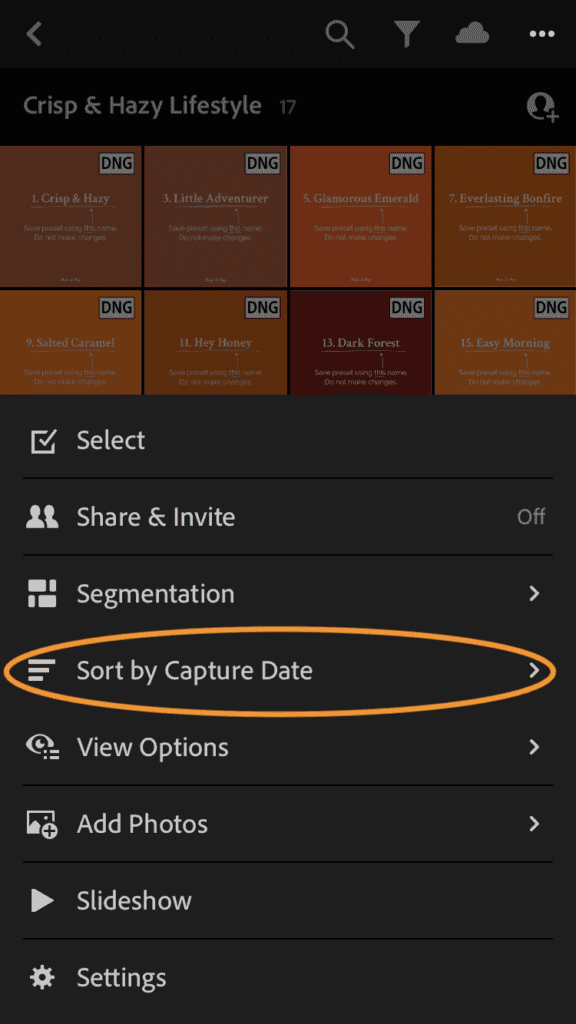
- The DNG files should now be in your Lightroom album. Next, Sort your files by “File Name” instead of capture date.
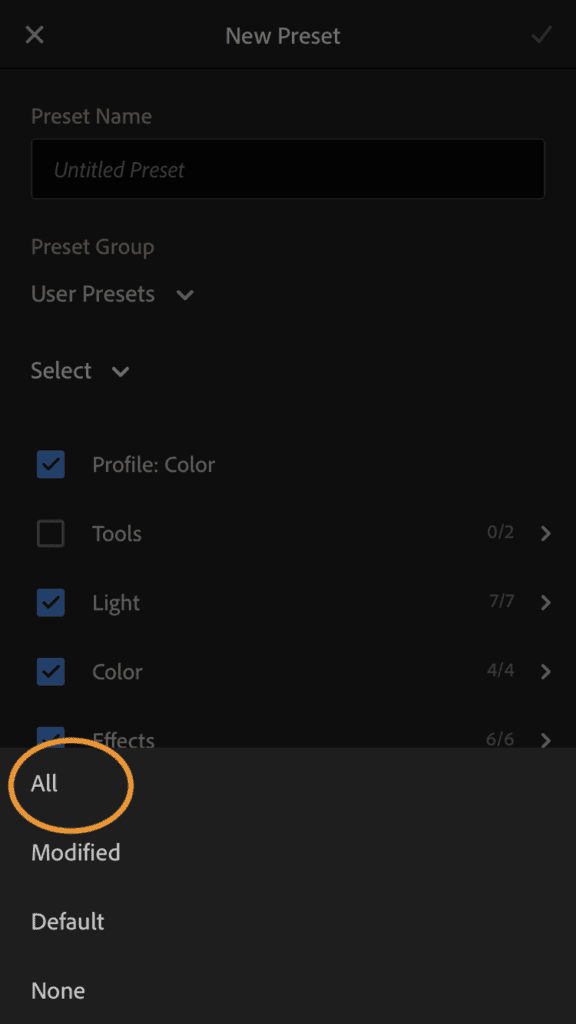
STEP 5: Create your Crisp & Hazy presets
- Each preset needs to be created manually.
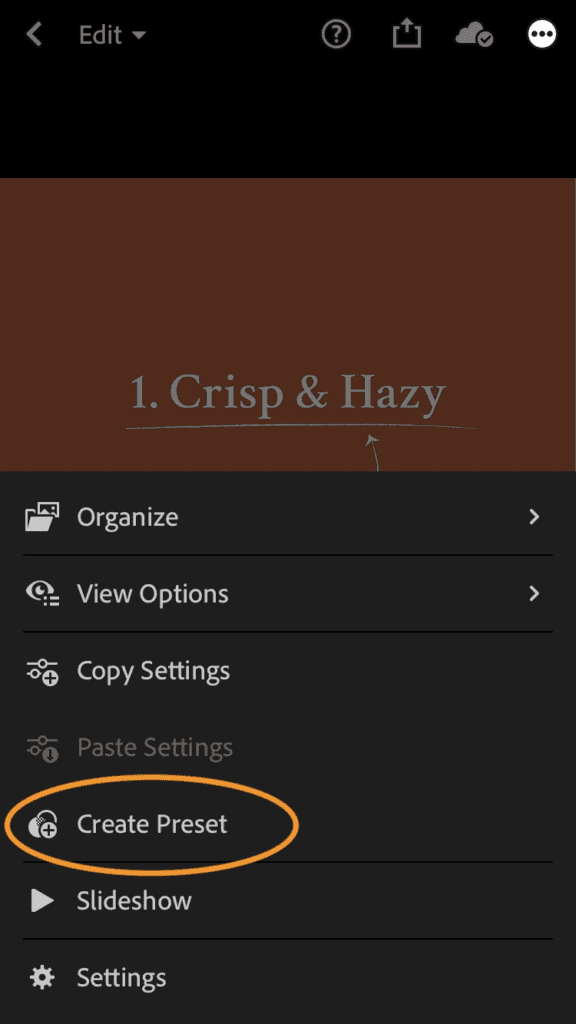
- Open the first DNG image, in this example I open the photo “1. Crisp and Hazy”. Tap the three dots and select “Create Preset”.
- It is important to tick all the boxes by selecting “All”.
- Next, enter the Preset Name as exactly described in the image, in this case “1. Crisp and Hazy”. After that, create a new group titled to the preset pack you bought, in this case, “Crisp & Hazy Lifestyle”. Finally click the check button in the top right of your screen.
- This step must be repeated for each preset in your pack.

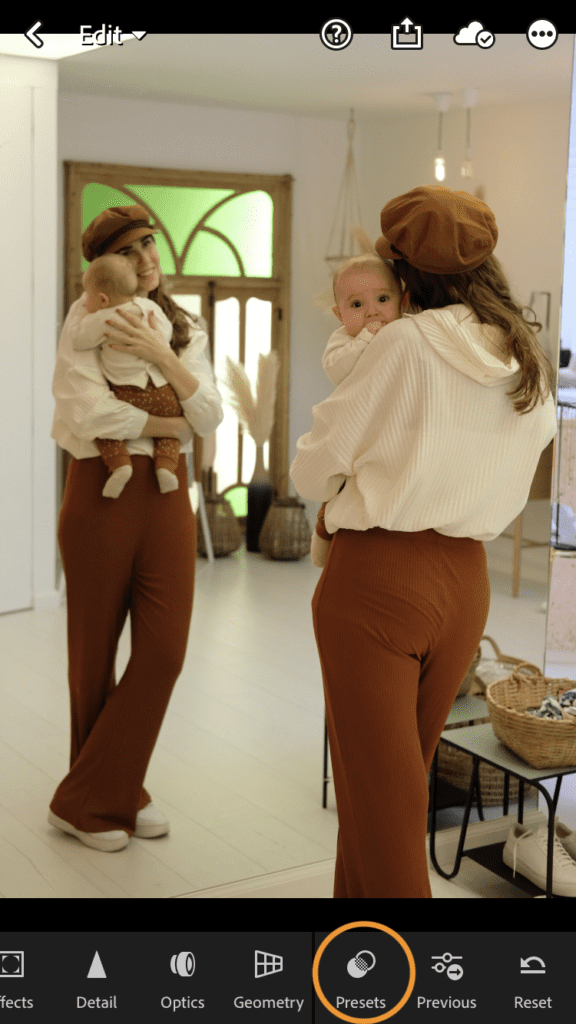
STEP 6: Edit your photos
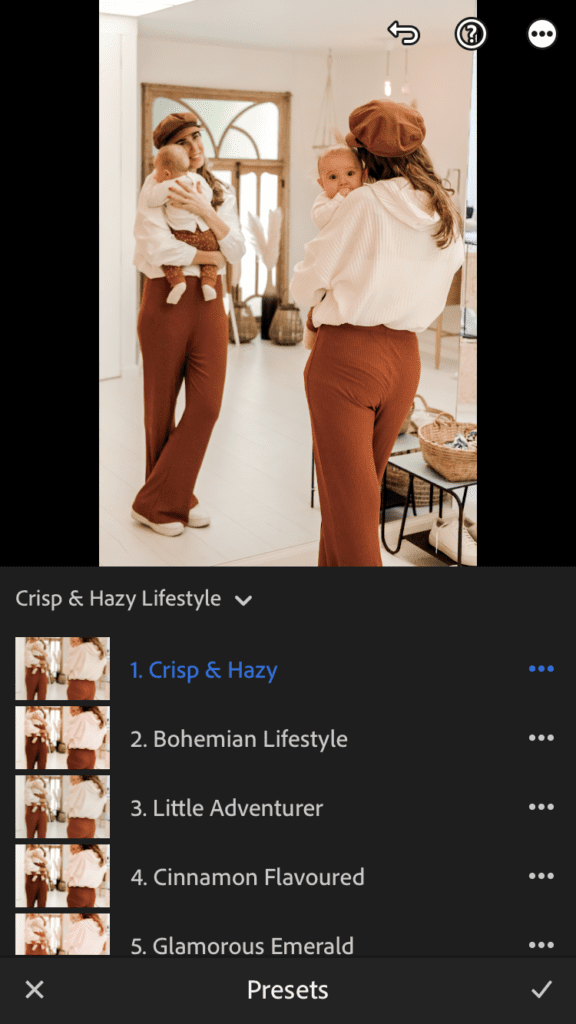
- Open a photo you like to edit and access your newly created presets by tapping “Presets” in the bottom toolbar. Choose the edit you like and you’re done!
- Attention: If you don’t see your Crisp & Hazy Lifestyle preset group please click on the dropdown arrow and choose the Crisp & Hazy Lifestyle preset group you just created.